By: Tom Claycomb III
Photos by the Author
If you live out West, it is imperative to properly learn how to glass if you want to be successful when hunting. Learning how to properly glass will open up a whole new world for you. I’ve written numerous articles on Glassing. I’ve taught numerous Glassing seminars from the local store level up to the biggest Outdoor Shows in Las Vegas. I’ve been on Prostaff and have been sponsored by numerous optics companies. You’d think I had glassing down pat; yet every time I go hunting and glass, I say, “Wow! This glassing really works! I need to practice what I preach.”
I guess we all have experiences in life that solidify certain beliefs. I had three such experiences that drove the importance of glassing home to me. In 1988 I was bow hunting with Dennis Buhlke in Colorado. As we topped a hill he said, “let’s glass a minute, a lot of times I’ll see one.” I thought he was nuts since we were hunting in wide open country, but in less than five minutes, we spotted a deer . . . and then another one. I don’t want to exaggerate but nearly every hill we crested, if we glassed long enough, we’d see deer. I became a believer after that trip.
Another time, I’d been hunting for a week. While driving down from a mountain top, I stopped to use the restroom. The far mountainside was wide open, other than the scattered 2-3-foot-tall brush. Something told me I ought to glass the mountainside. I kept arguing with myself not to. “Why?” I asked myself, “It’s only 400-500 yards away and wide open.” Finally, I threw up my binoculars; in minutes I’d spotted 5-6 deer grazing in the open.
Let me cover one more of my defining moments. This time, I took a kid hunting. We got caught in a blizzard, pounded by wet, heavy snow, it was tough duty. Finally, we made it back to the truck. The storm soon blew over but since we were soaked, I told him we’d go spotting/stalking. He asked, “What is glassing?” I told him we’d find a spot and glass. At the very first spot we stopped to glass, I hadn’t glassed for 1-2 minutes when I said, “there’s a deer and another one” until there were three. He said, “Wow, you’re pretty good.” I said, “Yeah.” I didn’t tell him I was surprised too. We snuck in and got a buck.
So, let’s say I’ve piqued your interest and you are ready to give glassing a try. Your first questions are: How do I glass? What gear do I need? To start, let’s dispel a common myth: No, you can’t properly glass using a scope. To properly glass, you’ll need two optics: a set of binoculars and a spotting scope. Let’s first cover binoculars.
BINOCULARS
For years I advised everyone to use 8x binocs. My reasoning: Let’s say you’re scrambling up and down mountains, huffing and puffing, and you stop to throw up your binocs to take a look at something. If you have anything larger than an 8x, you’re probably wobbling too much to be able to focus. About 5-years ago, however, I changed my stance. Now, I advise using a 10x. I decided I was missing too much game using an 8x.
If you’re hunting in a blind, sure, you may want a set of 12×50 binoculars. But for carrying in the mountains all day, they’re too heavy. So, I recommend carrying a set of 10×42 binocs. When you buy a pair of binoculars, you’ll want the aperture to be 4x’s the power or they won’t let in enough light in low light conditions (i.e., sunrise/sunset when game is most active).
Buy an elastic harness to carry your binocs. They’re a lifesaver. Thirty or forty years ago leather neck straps were a killer, but they were all we had. After hiking up mountains or bouncing on your four-wheeler all day, your neck would be pulled out of whack. Now we have binocular harnesses. They pull the binoculars close to your body. I’ve never had trouble with them while bowhunting. Mine have always held my binoculars close enough to my body that they don’t get hung up in the string when shooting. Buy a harness. Now, let’s secondly cover scopes
SPOTTING SCOPES
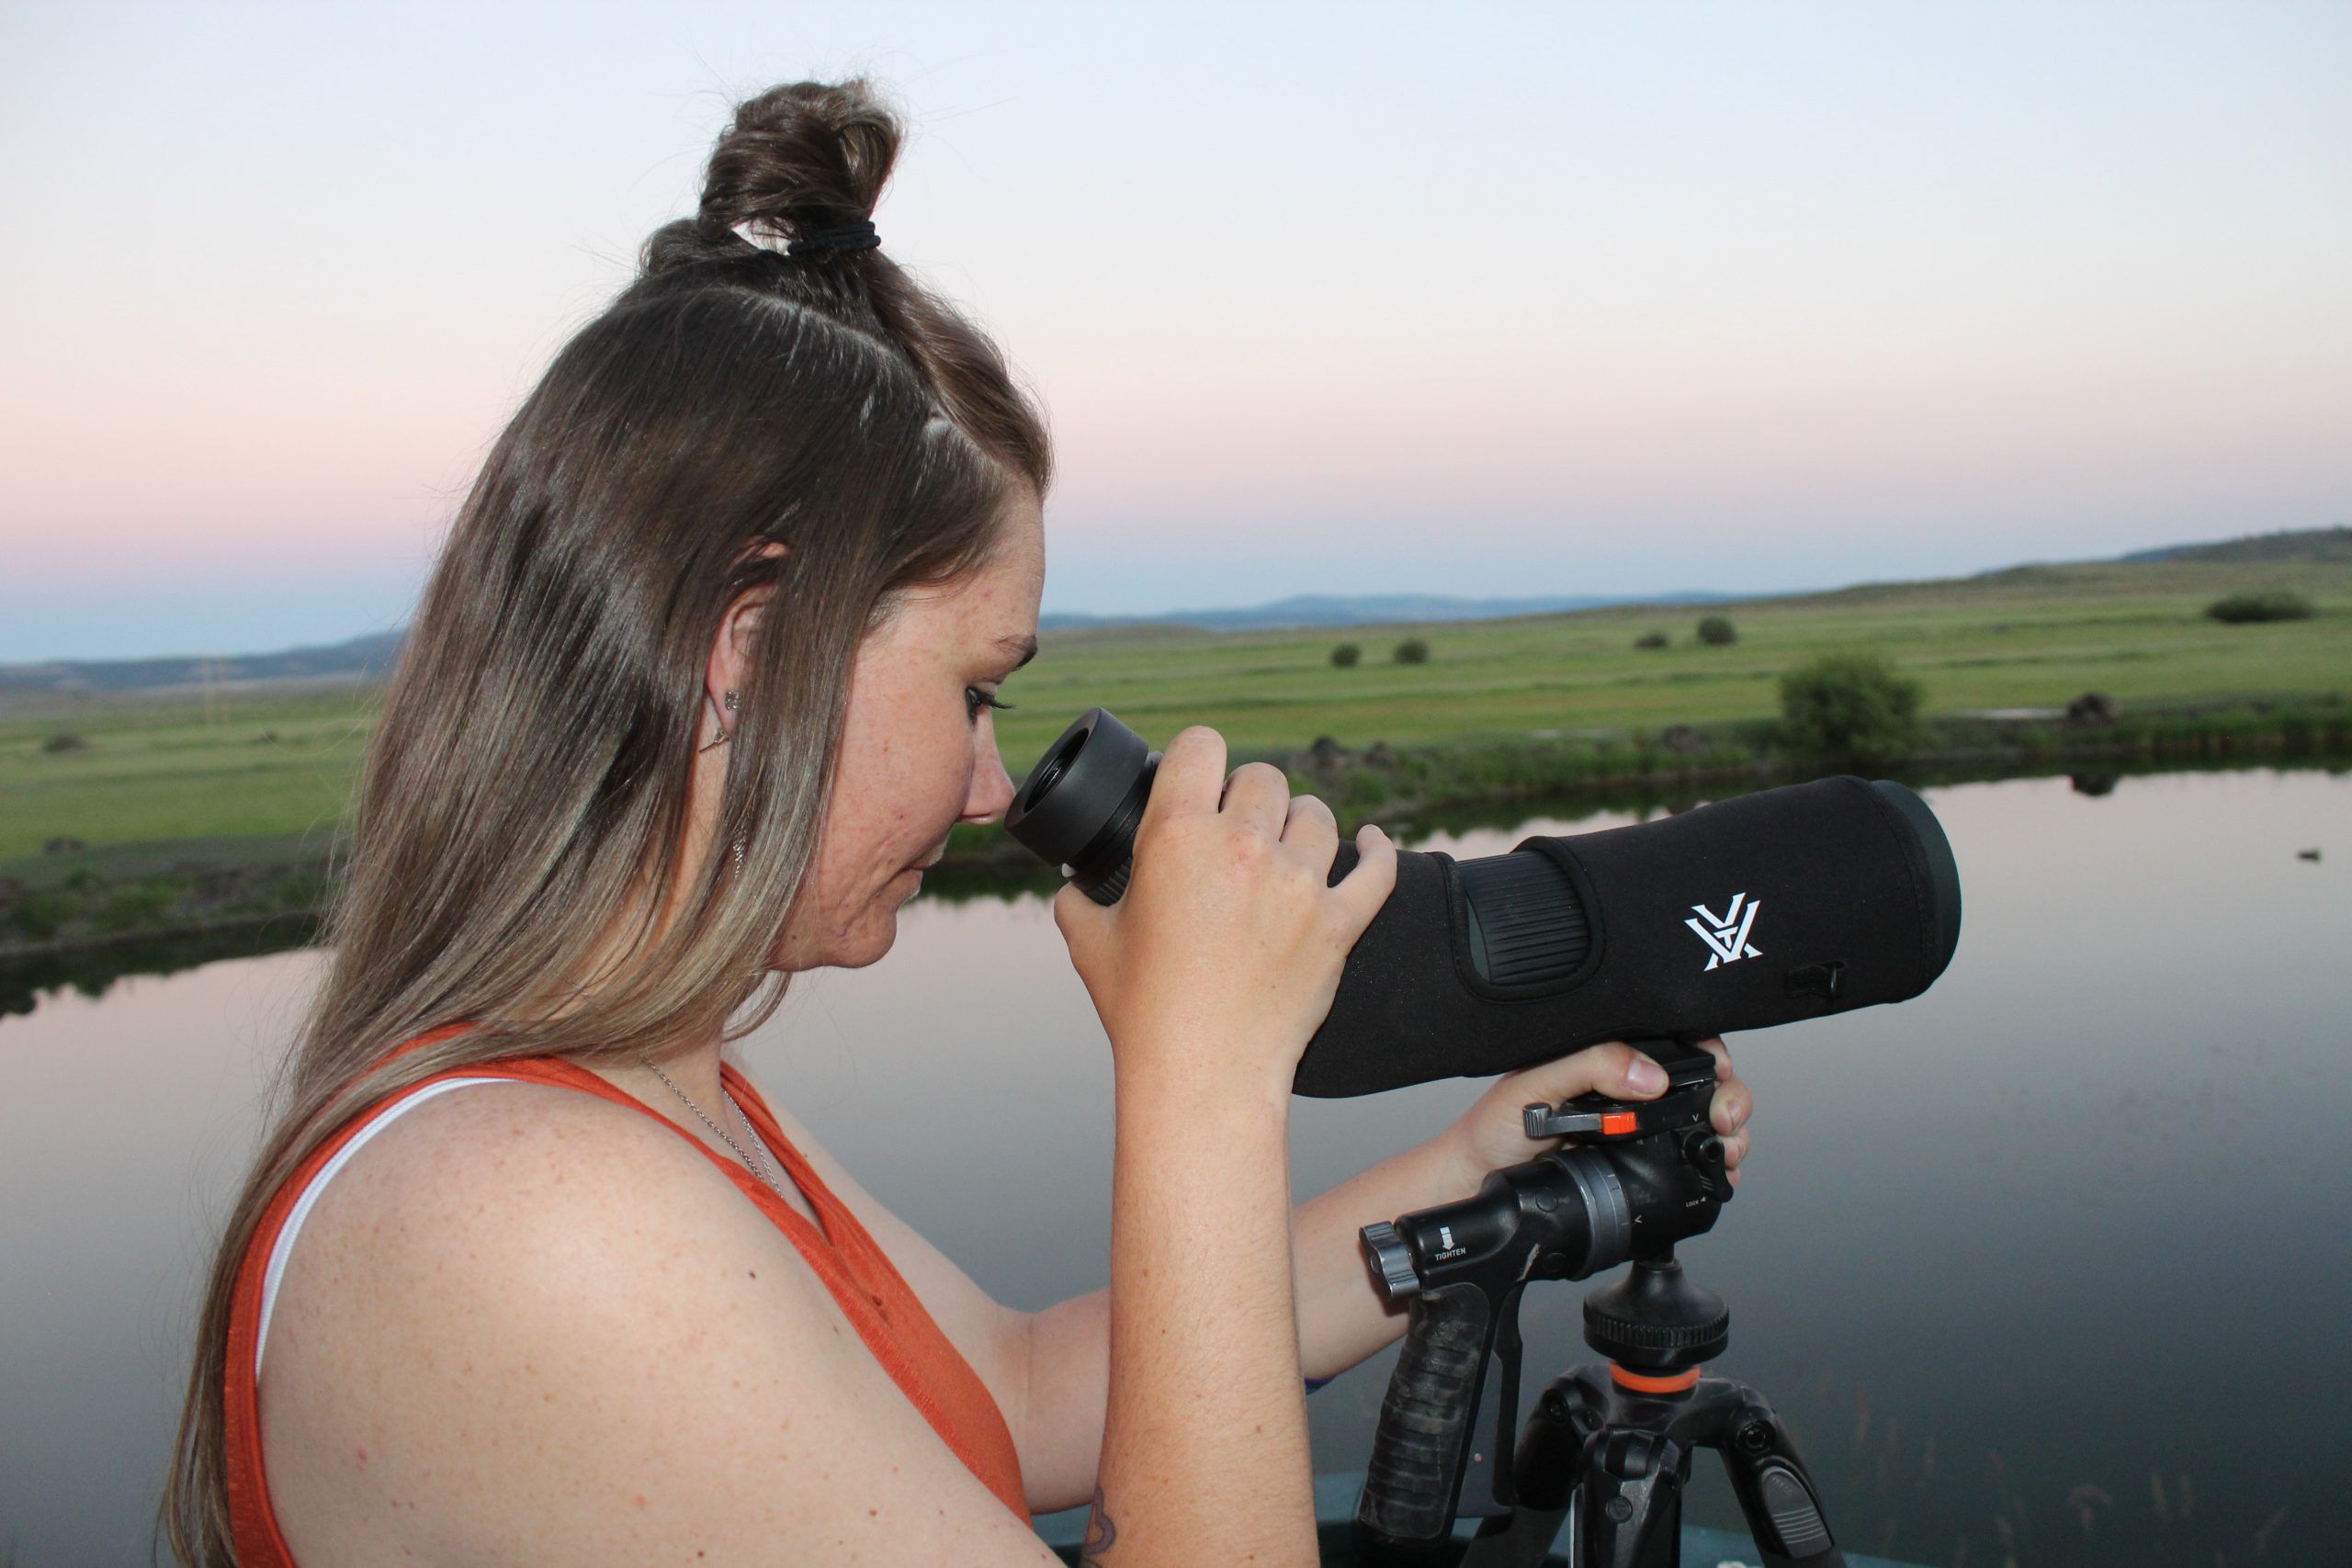
Shay at the Silvies Ranch checking out my new Vortex spotting scope last summer.
For out west, I recommend using a 15-30x spotting scope. If you’re hunting sheep in Alaska, you’ll want a 60x. While the more power the better makes sense, if you have a big, heavy scope, you won’t carry it regularly. That’s why I recommend a 15-30x since it is lighter and more compact. If you’re packing in on horses though, sure, use a 60x. By contrast, in the high desert country, down south of me in the Owyhee’s, I can justify using a 60x spotting scope since the country is wide open and you can see quite far.
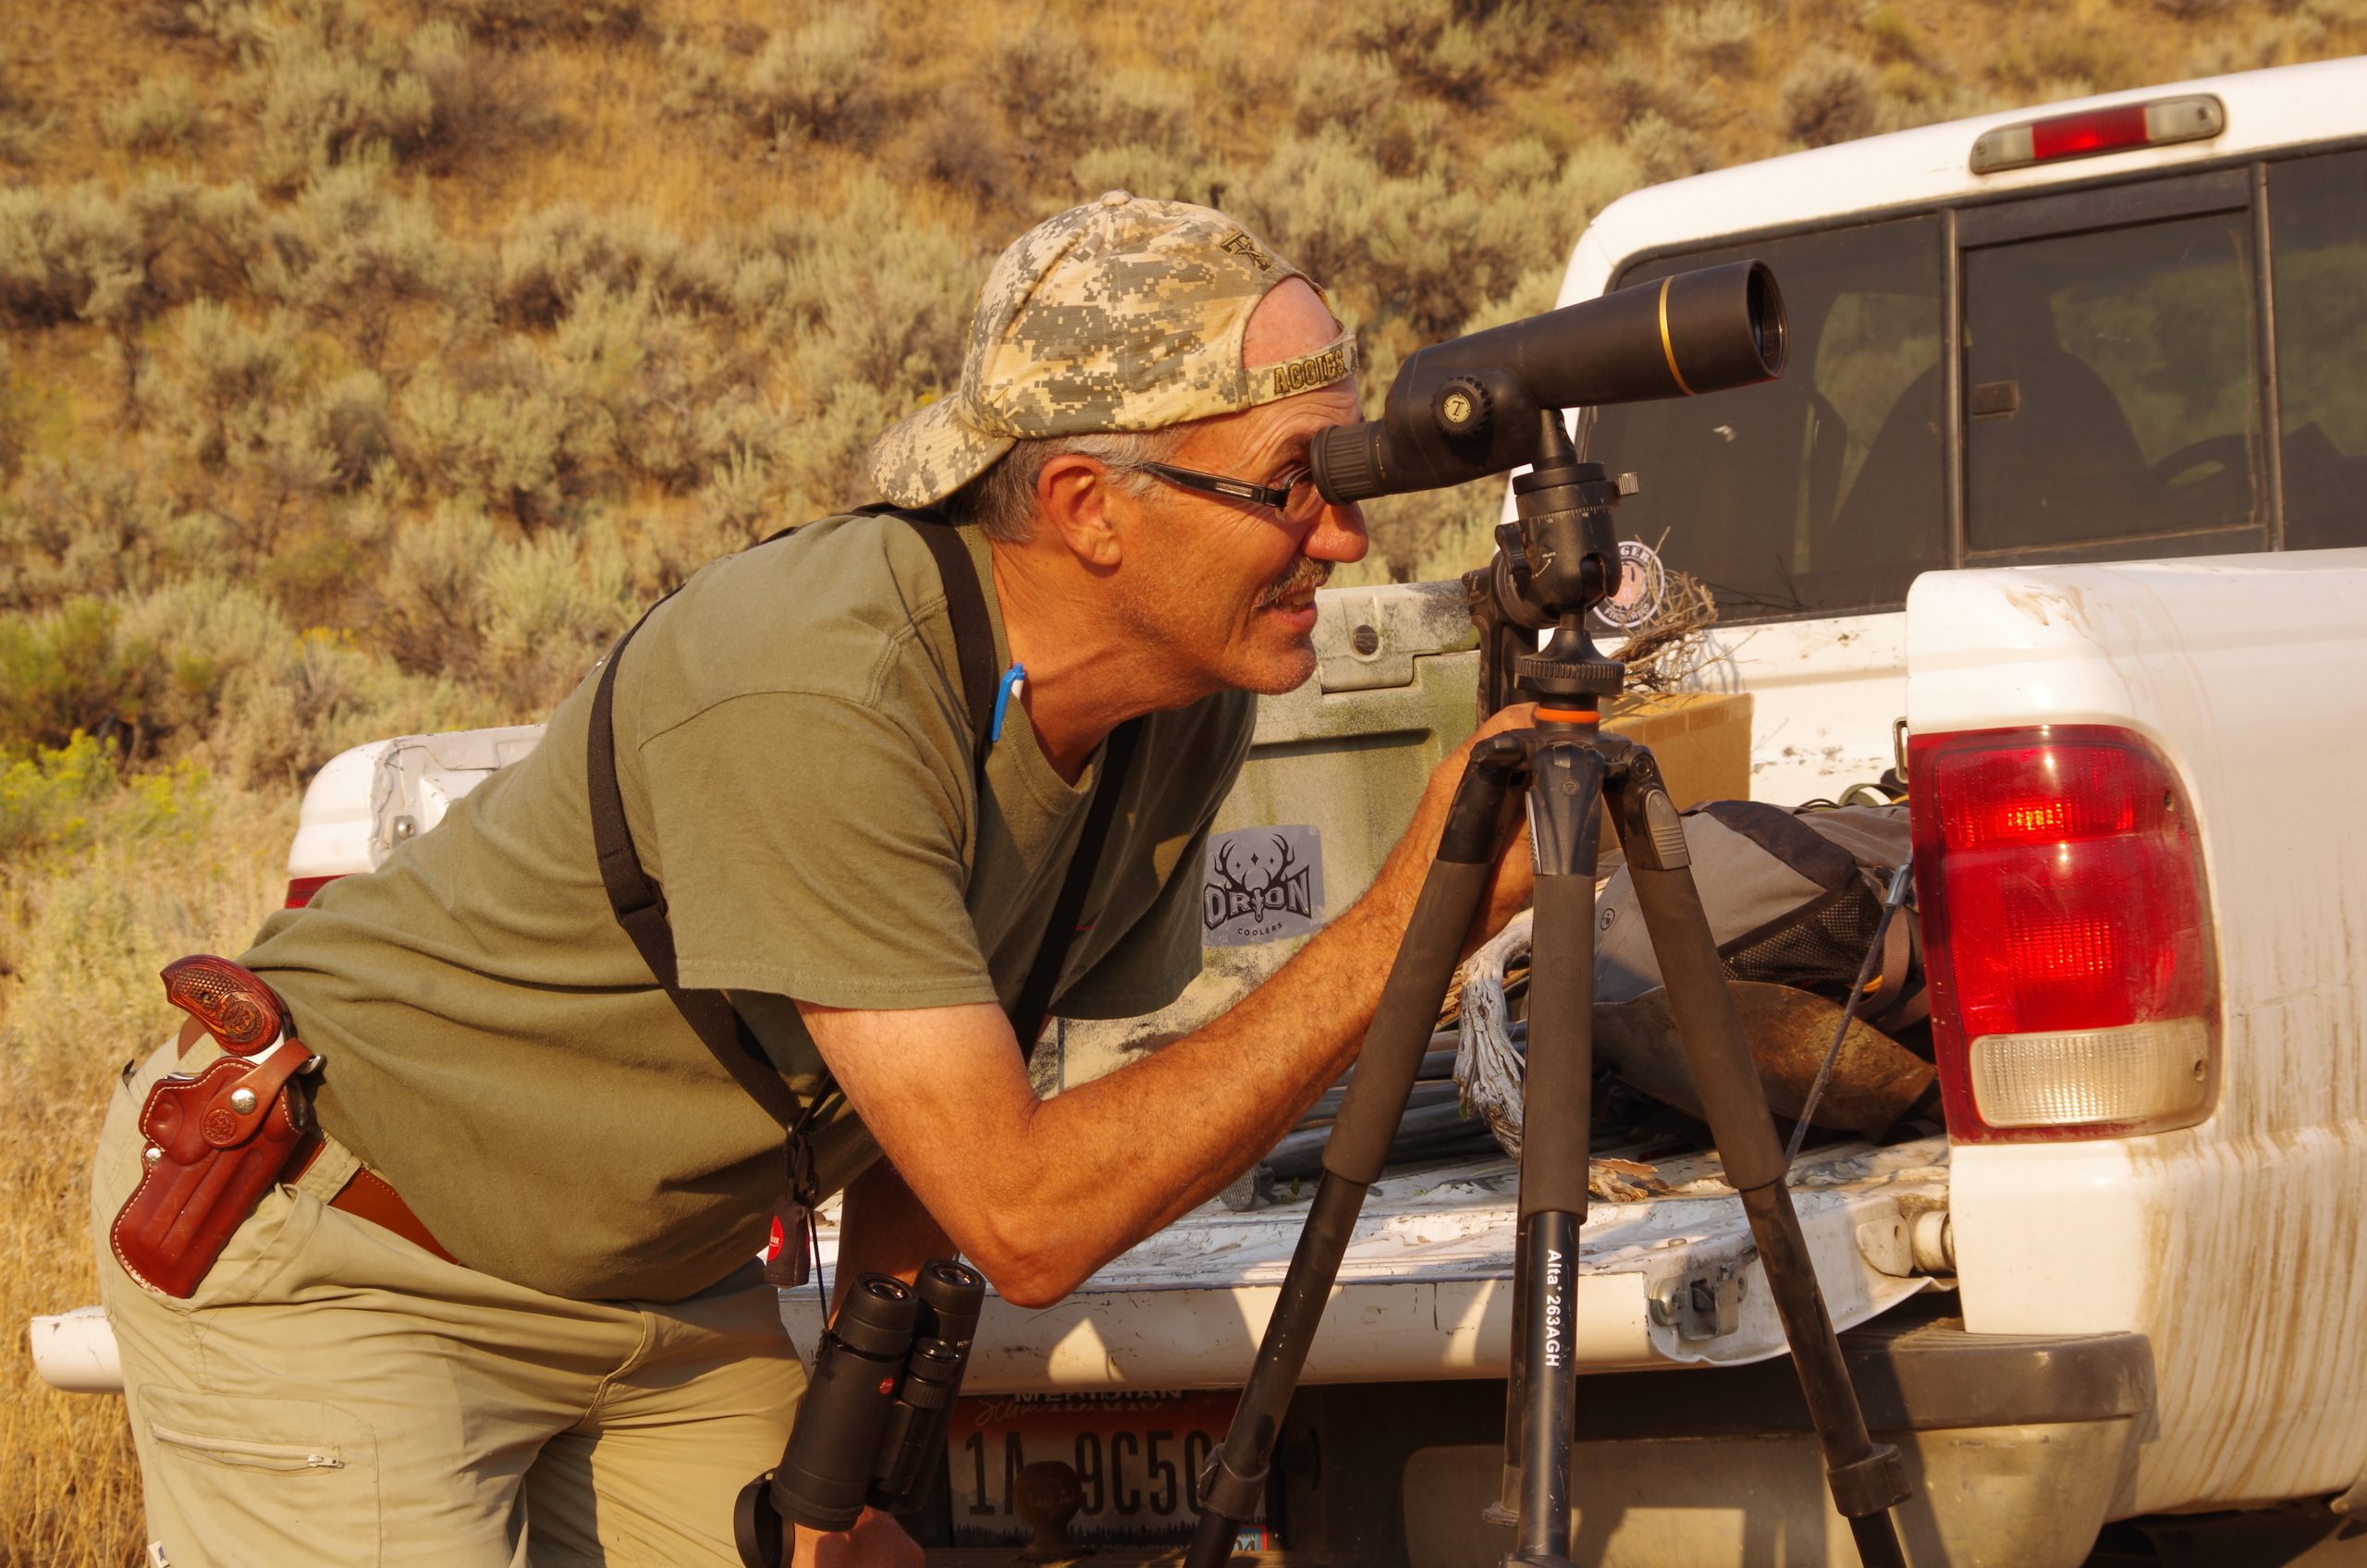
Due to the high magnification of your spotting scope, you’ll need a tripod. The legs should be adjustable so you can make it level on steep terrain. I like an angled eyepiece. Straight works fine on flat terrain, but in the mountains, I’d recommend an angled eyepiece.
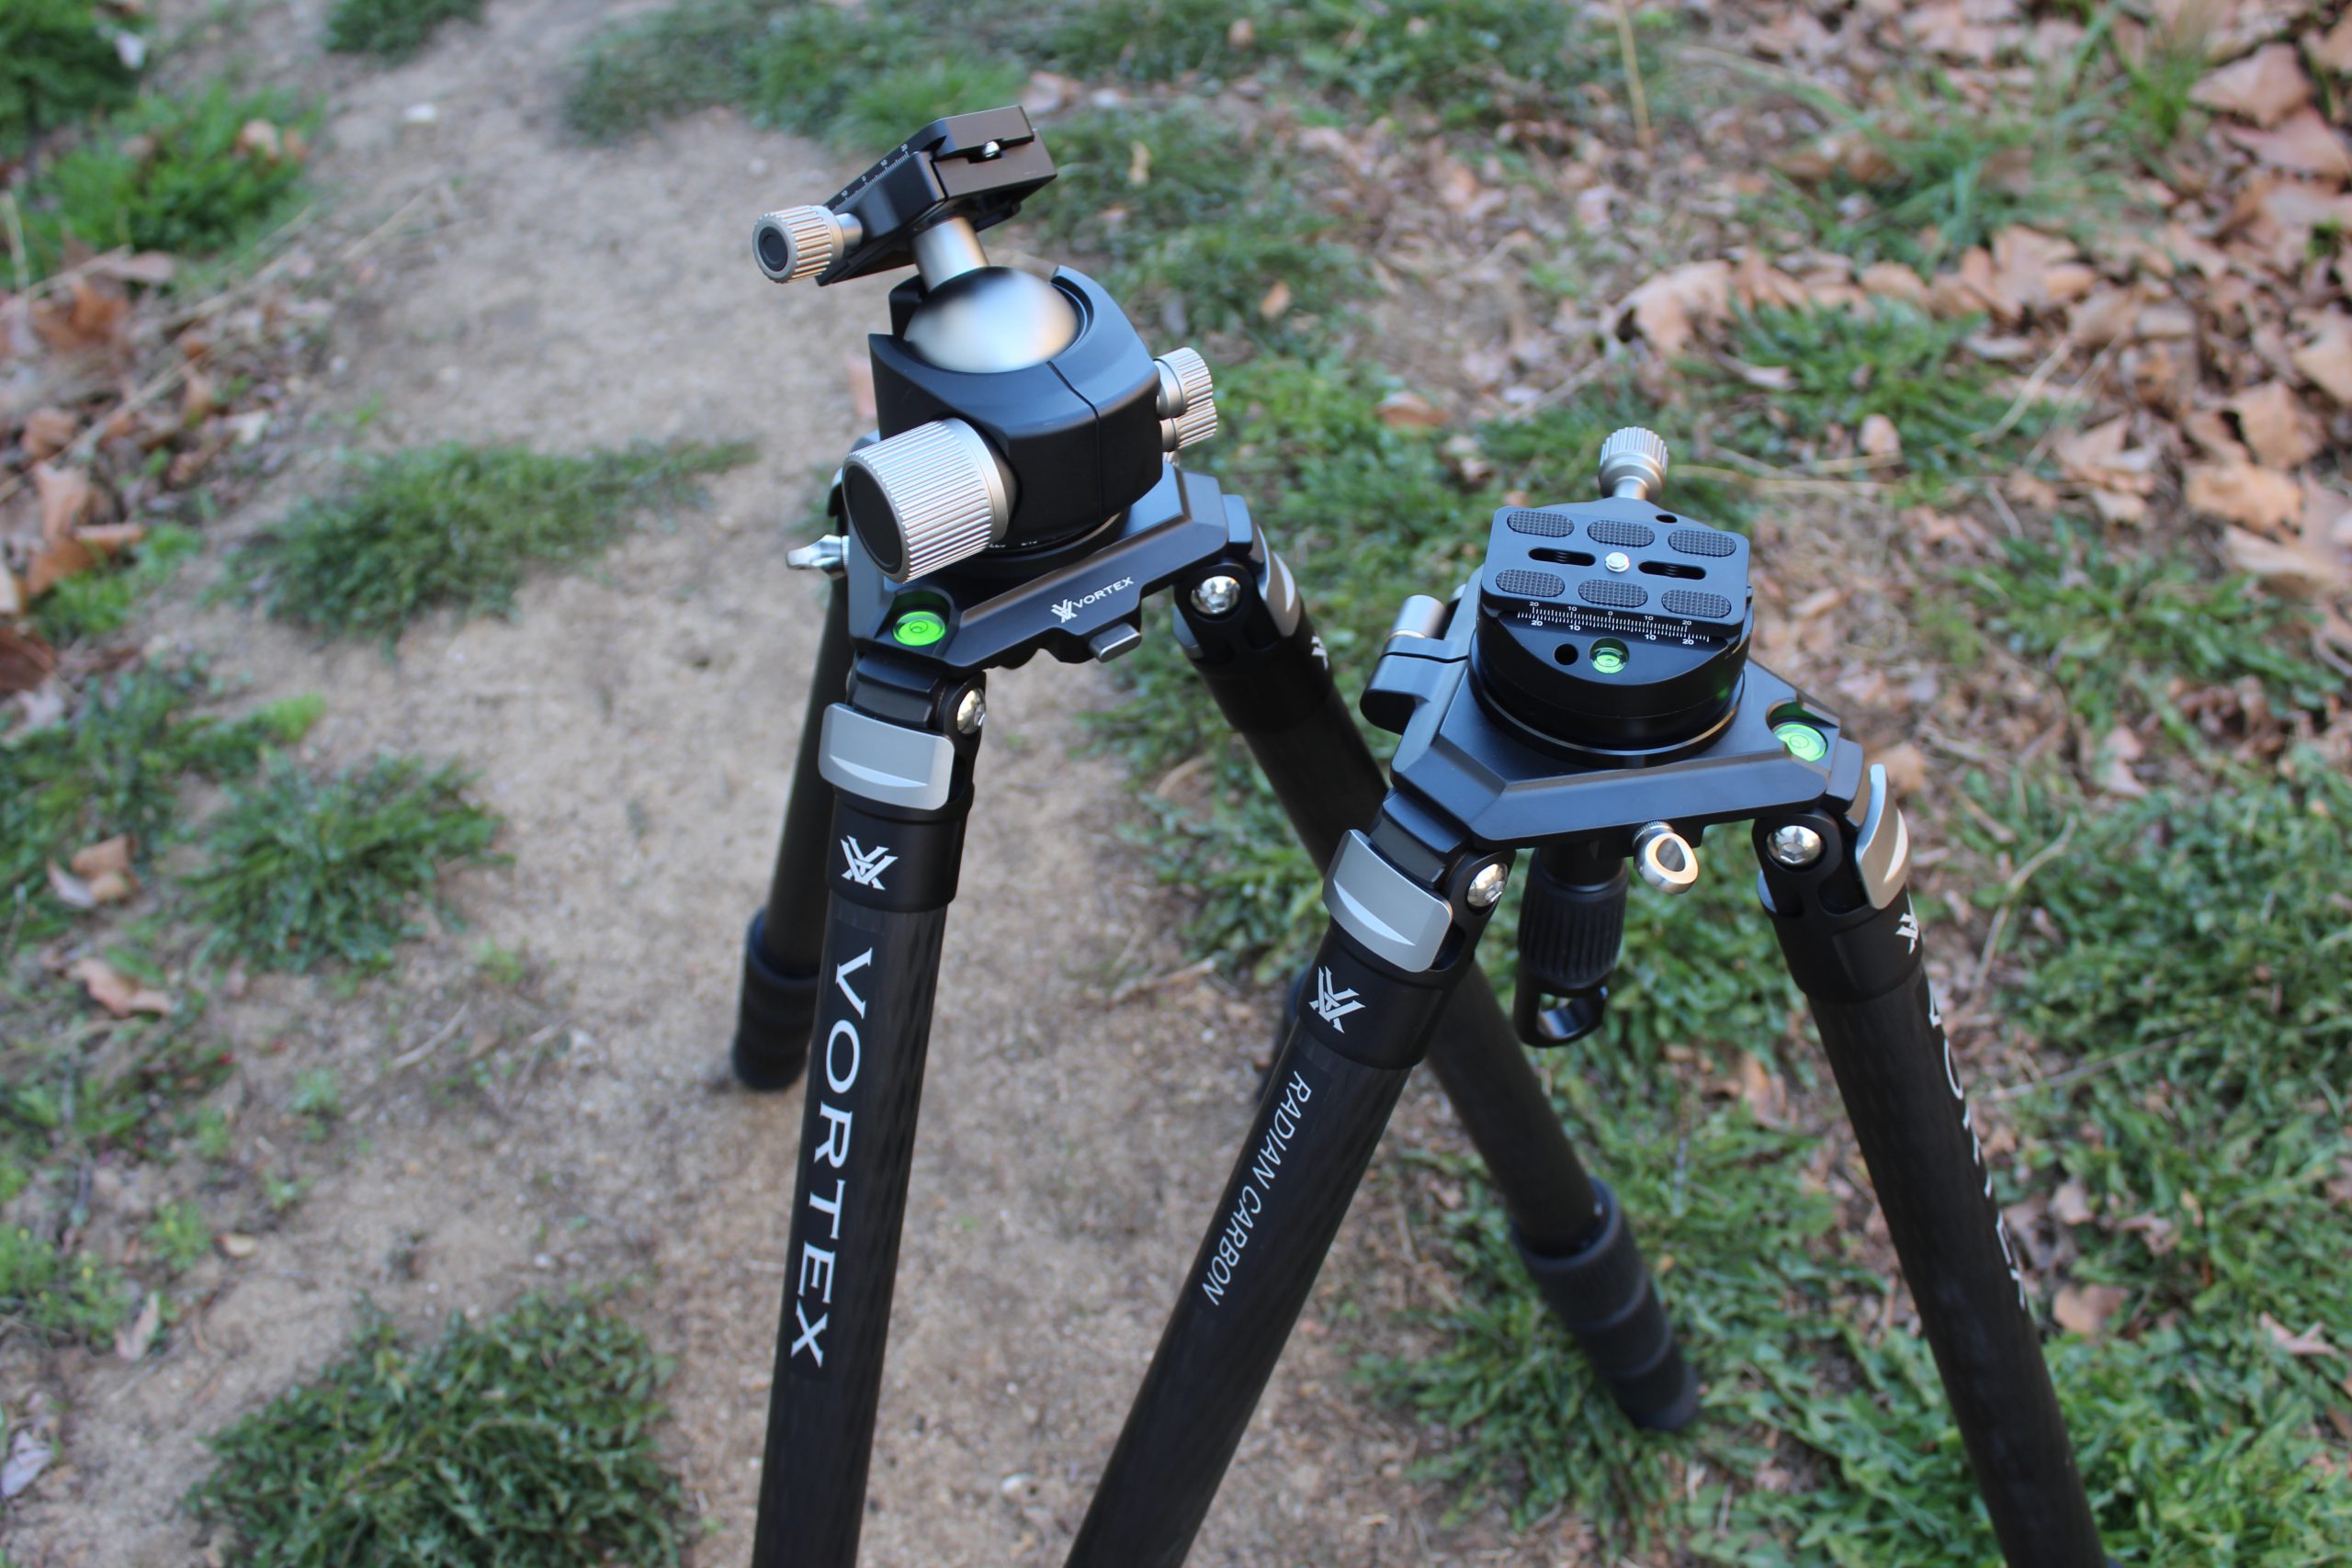
There are a plethora of tripod options to choose from. Do you want carbon fiber lightweight tripods? A pistol grip handle to aid in rotating the head?
Here’s a big benefit of using a spotting scope. Think about when you see game and tell your buddy, “There’s a deer.” He asks, “Where?” You Reply, “Right there!” And this dialogue goes on for 5-minutes until the game spooks and your buddy finally sees the animal as it runs away. When glassing, you can just back away and let your buddy look through the lenses to see the game.
ZONE GLASSING
So how do you glass? I teach what I call zone glassing. Don’t give in to the urge to just glass the open spots. Start at the bottom and move left to right. When you get to the end, go up 50 yards and scan to the left. Repeat up to the top.
Game moves/feeds in and out of cover, right? So, wait a few minutes and repeat. Learn to look for something out of the norm: The reddish/brown color of an elk. A reddish/brown leg in the forest. A flickering ear. The tan rump of an elk. Anything black is either a bear, moose, or a burned stump.
You will be glassing for hours on rocky ground. So, at the least take a pad. Better yet, I discovered a low-profile chair named the Dash that is manufactured by Alps Mountaineering. It is a lightweight, backpacking chair. I like using a chair because it slightly elevates you so you can see over the brush and is more comfortable than a pad.
Don’t set up right on the skyline. Even if your game is far off, they might see you if you move. Just in case, I set up maybe 15 feet below the skyline.
BUY GOOD GLASS
Everyone is on some kind of budget but buy the best optics you afford. Don’t leave any pennies in your pocket when it comes to optics. Every time you use them, you’ll thank me. Years ago, you had to spend a fortune and buy optics from one of three big, European, optic companies to get some excellent glass. Fortunately, now the optic market is competitive. You can buy a good pair of binoculars for $500-$600.
Don’t make the mistake of going into a store and comparing optics and coming to the erroneous conclusion that the $35 pair of compact binoculars are as clear as the $500 pair. In a brightly lit store, you may come to that conclusion, but look across the floor and find something in a shadowed area; then compare notes. Read a finely printed sign across the floor. Better yet, see if they’ll let you take them outside to look around. Test some of your buddy’s optics. Take your time; optics are an important purchase.
Another handy option to consider is binoculars with a built-in range finder. I used a pair of Vortex Fury 5000 HD binoculars this year when bowhunting. That saved me from carrying a range finder (one more item to lose).
So, you’ve been glassing and spotted your elk/deer/bear/moose. Now what? You can’t run to it; you’ll spook it. And what if you only have 30 minutes of daylight left and it will take you 45 minutes to hike over to it? Now you have to plot out your stalk. We are out of writing room here, so we’ll have to cover spotting/stalking in the next article. See you then.